Elements
Curtin Profiles
Curtin Profiles is a platform designed to showcase your expertise, achievements and research interests. It draws information from Elements and the HR feed and presents it as a polished public webpage, enabling others to find information about your research and publications, grants, teaching, and professional activities.
Where to start
To get started with Elements, log in to the platform with your staff portal log in details.
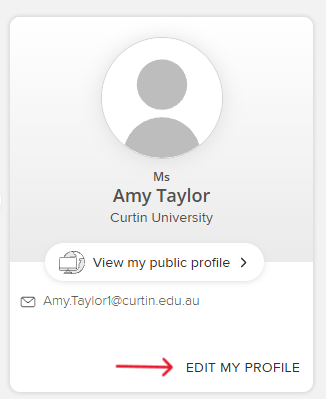
Note, if you are a Higher Degree by Research (HDR) student and a staff member, you will have two profiles. We recommend you use your student profile and make your staff profile private. To do this, log in with your staff details, click on Edit my profile and change the profile privacy to Internal. You can then log out and log in with your student details and begin crafting your profile.
If you’re just starting out with Elements, you should sync your ORCID and add a photo.
Adding a photo
To add a photo to your profile, go to your homepage, click on Edit my profile and, in Edit mode, click on Upload photo.
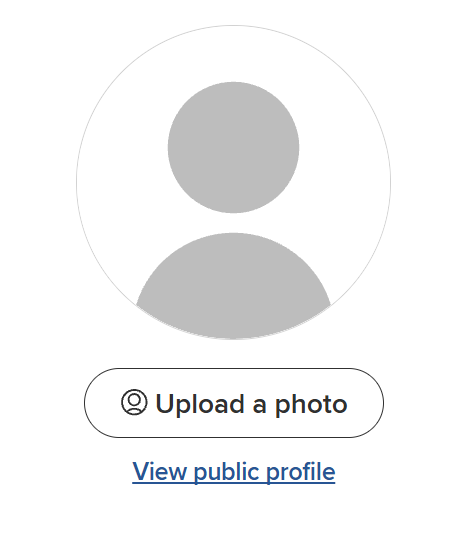
Either drag a file into the box or browse your computer for the image you’d like to upload, and click Save.
Syncing your ORCID and other IDs
If you haven’t yet added your ORCID, you will be prompted to do so in your actions which are listed in the carousel on the homepage.
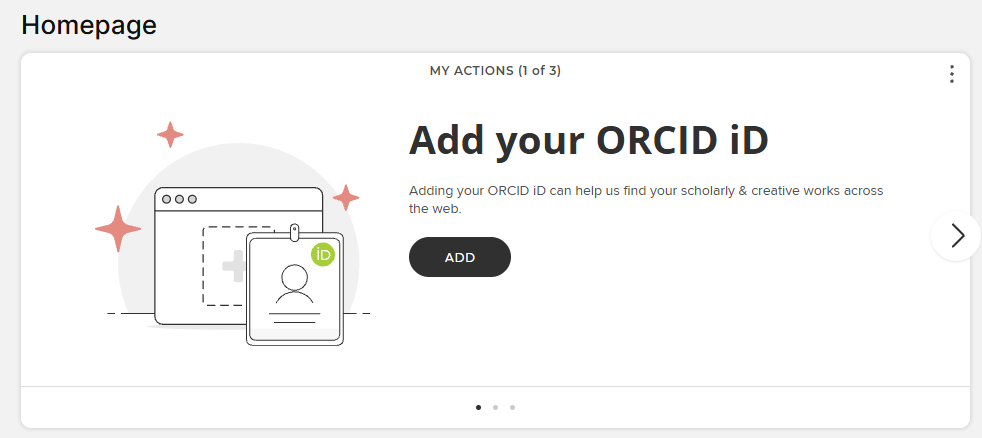
After clicking on Add you’ll be taken to an ORCID login page. Log in and follow the prompts to connect your ORCID to your Elements account. Then, back in Elements, open the Profile & work menu option and go to My research identifiers. From here you can connect other external profiles such as a ResearcherID or Scopus ID, as well as manage how your publications are automatically claimed in Elements.
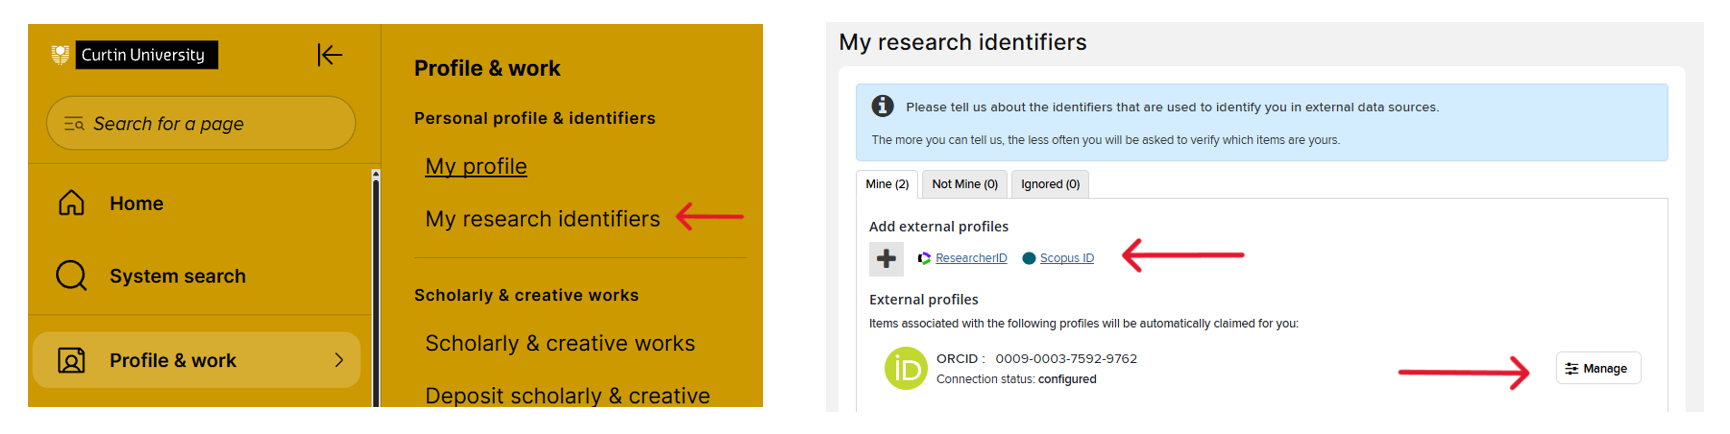
By default, all of your publications that come through one of these external profiles are auto claimed when Elements imports them. However, if you’d like to manually claim publications as they are imported, you can click on Manage and change the auto claiming option to Auto suggest associated items.
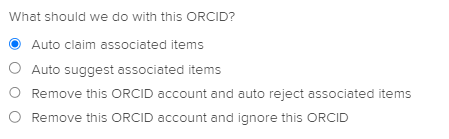
Your publications will then come through as pending and you’ll be asked to either claim the record before it appears on your profile or reject it to remove it from your list of publications. This will appear in Elements as an action in the carousel on your homepage, and also in the pending publications tab in your scholarly & creative works Elements page.
Building your profile
If you had already added information to the old staff profiles platform, such as a biography or teaching and research information, you are able to retrieve that information and move it to the new platform. To do this, visit the archives page and copy and paste the information into the relevant text box in Elements, as outlined below.
Your Curtin Profile is built using information from various sources.
- The department listed on your profile is automatically sourced from HR.
- Your Supervisor level (if applicable) is uploaded from the Graduate Research School (GRS). This cannot be edited by you. For changes to your Supervisor level, please contact the GRS.
- Fields or Research (FOR) codes have been uploaded after some automated analysis. Your FOR codes can be edited by you in the About section of your Elements profile.
The rest of your Curtin Profile is built using the information you put into Elements. The more information you add to your profile, the easier it is for collaborators to find you. All fields will remain hidden until you add some information to them in Elements; the only one that will continue to appear on your profile even when empty is the About tab, as this tab also contains the information harvested from the other, automatic feeds.
By default, your profile is set to public. If you would like more time to work on it without it being made public, you can click on Edit my profile and then choose Internal under Profile privacy in the top right corner.
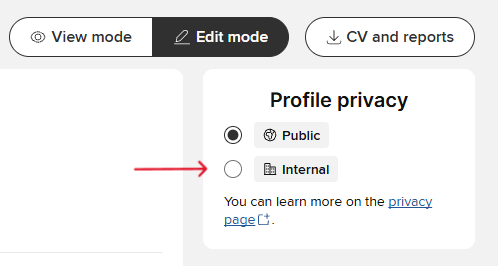
Alternatively, you can make particular parts of your profile private as you work on them if you would like the majority of your profile to be public and discoverable.
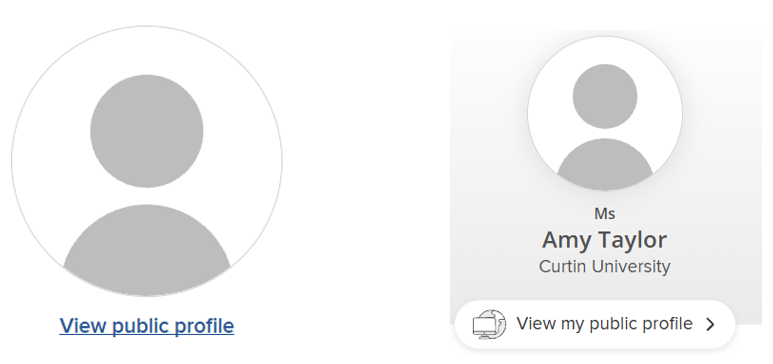
As you’re building your profile in Elements, you are able to see what it will look like publicly. After you make a change and save it, click on View public profile while in edit or view mode, or View my public profile from your homepage (both links sit under your photo). If you’re adding something to your rofile, you should be able to see the change within the next minute or two, if you’ve deleted something, it may take a little longer, but shouldn’t take more than five minutes.
Similarly, you can access your Elements profile from your public Curtin Profile by clicking on the Are you (this person)? Edit your profile button at the bottom left of your profile.
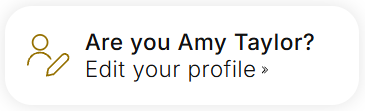
Note that if someone else clicks on this button on your public profile, and they are able to access Elements, after logging in they will be able to view your Elements profile, but they will not be able to edit it.
For more information on each of the tabs in your profile and where the information comes from, scroll through the list below or use the menu at the top left of this page to navigate to each section.
About
The About section contains your academic and non-academic positions, your degrees and any labels associated with you or your position, such as your Supervisor level or your department.
It also contains your biography and research impact. This provides you with an opportunity to include biopgraphical information about you, as well as how your research impacts society.
All of the editable information in your About section can be populated by clicking on Edit my profile.
Note, to add this information ensure you are in edit mode.
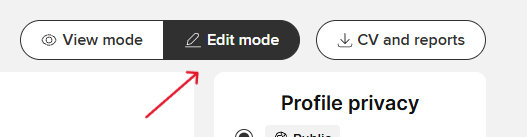
To populate your:
-
Biography and research impact: Type your text into the Overview box. To save your changes click on Save at the end of the About section, after the teaching summary box. If you would like to save your progress but edit the text later without your unfinished text appearing on your profile, you can use the drop down menu under the box to set the privacy to Always internal. This means the text you are currently editing won’t appear on your public profile, but the rest of your profile will remain public. When you’re done editing, make sure to set the privacy level back to Match profile: Public.
-
Experience: Click on Add appointment and fill in the relevant informaiton. Your position title, the institution name, the Country in which you are/were appointed and the start date are all required information.
-
Education: Click on Add degree, Add certification, or Add training item and fill in the relevant information. The title of the qualification, the institute you attended and the country in which it was completed are all required information.
-
Labels: Click on Manage labels and search for your research terms (FOR codes). Choose a label name and then click Add. Note that some of the labels, such as your profile type and supervisor level, are automatically generated from the HR feed and cannot be edited by you.
While in edit mode, you can also add links to any media you’d like featured on your profile, as well as any addresses and language competencies.
Note, there are two other free text boxes in edit mode, one labelled research interests and another labelled teaching summary. You can add information to these as well, but the information will appear in the Research and Teaching & supervision tabs respectively.
Scholarly & creative works
When a publication is added to your Elements profile, it will appear in your Scholarly & creative works tab.
You can add publications to Elements manually or import them from another source, such as Google Scholar or a database.
Your scholarly & creative work editing page is split into three sections: claimed, pending and rejected.

The publication records on your claimed page are all of those linked to you, after either being imported from an external source, or added manually by you. By default, your publications will appear in the order in which they were published, with the newest publications first. If there is an older publication you would like to sit at the top of your Scholarly & creative works tab, you can favourite it in Elements. To do this, click on Edit my profile, then in View mode click on the Scholarly & creative works tab, and then Manage scholarly & creative works. Navigate to the publication you’d like to favourite and click on the small heart to the right of the title.

Alternatively, if you want to hide a claimed publication from your public profile, click on the Globe icon located next to the heart to manage privacy settings. Under Relationship privacy, select Private.
If you have set up your auto claiming so that your imported records are suggested to you rather than automatically linked to you, then they will appear in the pending list. You can claim them so that they appear in your profile, or, if they aren’t linked to you, you can reject them to remove them from your list of publications. You can reject a publication at any time, including those already in your claimed list of publications. This removes the publication from your profile, and it will sit on your rejected page.
Research
The Research section is where you can showcase your research interests and grants.
You can populate your research interests by clicking on Edit my profile and, while in Edit mode, adding text to the box labelled Research interests. To save your changes click on Save at the end of the About section, after the teaching summary box. If you would like to save your progress but edit the text later without your unfinished text appearing on your profile, you can use the drop down menu under the box to set the privacy to Always internal. This means the text you are currently editing won’t appear on your public profile, but the rest of your profile will remain public. When you’re done editing, make sure to set the privacy level back to Match profile: Public.
You can add a list of grants to your profile by either:
- From your homepage, clicking on Edit my profile, clicking on View mode, selecting the Grants tab and clicking on Mangae grants
- On your homepage, clicking on View all in the Grants tile, or
- Opening the profile & work menu option and selecting Grants.
From here, click on the black plus sign in the top right-hand corner of the page and fill in the relevant information.
You must select an option that describes your relationship to the grant, all the other information is optional, and everything can be edited later. When you’ve finished filling in the form, click on Save.
Professional activities
Professional activities are those activities you have been involved in at work that you would like to showcase on your profile. There are a variety of activity types available including event organisation and/or participation, journal reviewing, committee membership, or interviews.
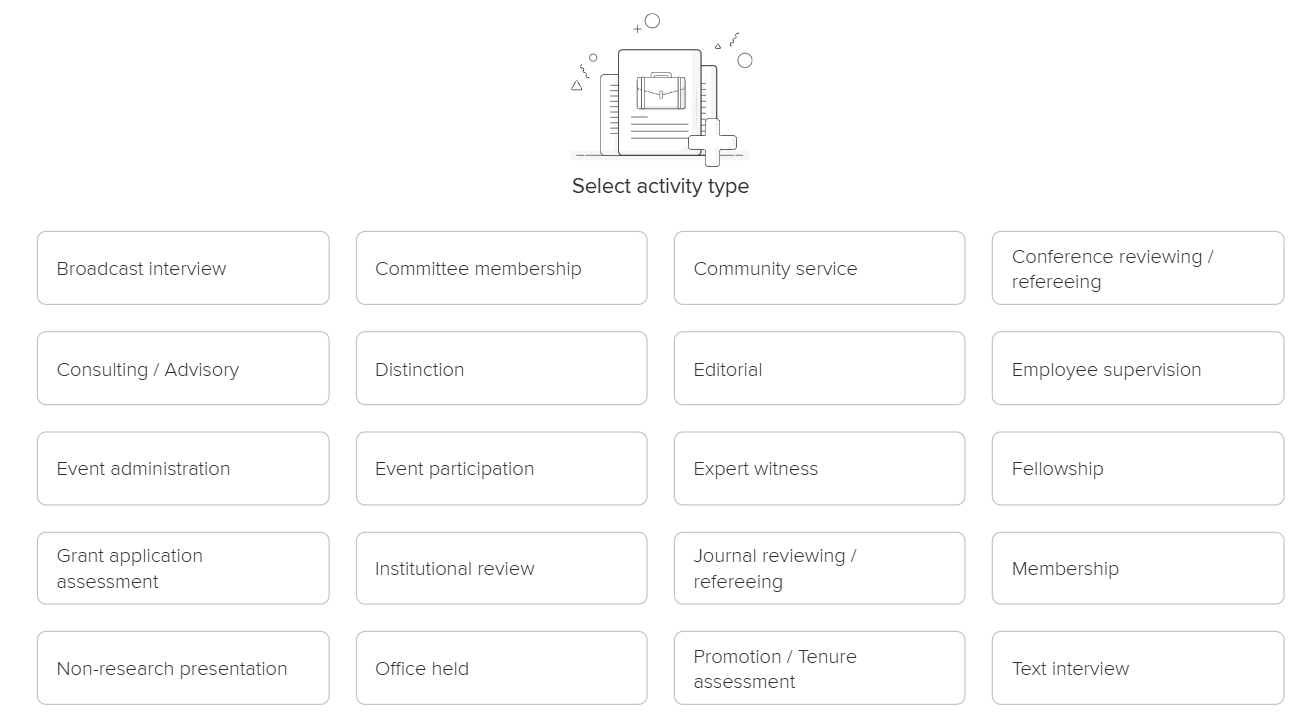
You can add a professional activity by either:
- From your homepage, clicking on Edit my profile, clicking on View mode, selecting the Professional activities tab and clicking on Manage professional activities
- On your homepage, clicking on View all in the Professional activities tile, or
- Opening the profile & work menu option and selecting Professional activities.
Choose an activity from the options provided and fill in the relevant information. Each of the options will have different information that is required to be added. When you’ve finished filling in the form, click on Save.
Teaching & supervision
If you have Teaching & supervision experience you would like to highlight on your profile, here is the place to do it.
You can populate your teaching & supervision summary by clicking on Edit my profile and, while in Edit mode, adding text to the box labelled Teaching summary. To save your changes click on Save at the end of the About section, after the teaching summary box. If you would like to save your progress but edit the text later without your unfinished text appearing on your profile, you can use the drop down menu under the box to set the privacy to Always internal. This means the text you are currently editing won’t appear on your public profile, but the rest of your profile will remain public. When you’re done editing, make sure to set the privacy level back to Match profile: Public.
You can add a list of activities to your profile by either:
- From your homepage, clicking on Edit my profile, clicking on View mode, selecting the Teaching & supervision tab and clicking on Manage teaching & supervision
- On your homepage, clicking on View all in the Teaching & supervision tile, or
- Opening the profile & work menu option and selecting Teaching & supervision.
From here, click on the black plus sign in the top right hand corner of the page.
Choose an activity from the options provided and fill in the relevant information. Each of the options will have different information that is required to be added. When you’ve finished filling in the form, click on Save.
Projects
You can populate a list of the Projects you have led or been involved in and highlight them on your profile.
You can add a list of projects you are or have been involved in to your profile by either:
- From your homepage, clicking on Edit my profile, clicking on View mode, selecting the Projects tab and clicking on Manage projects
- On your homepage, clicking on View all in the Projects tile, or
- Opening the profile & work menu option and selecting Projects.
From here, click on the black plus sign in the top right-hand corner of the page.
You will need to choose your relationship to the project from the options provided, as well as provide the name of the project, the start date, and the names of the project leaders. All other information is optional, and any of the information can be edited at any time. Click Save when you ahve finished filling in the information.